

Hey there! I'm really excited to share with you how to install a kraft paper roll as a wall - covering. As a kraft paper roll supplier, I've seen firsthand how this versatile material can transform a space. Kraft paper isn't just for packaging; it can add a unique, rustic charm to your walls.
Why Choose Kraft Paper as Wall - Covering
First off, let's talk about why you might want to use kraft paper for your walls. It's super affordable compared to traditional wall coverings like wallpaper or paint. You can get a large roll of high - quality kraft paper at a fraction of the cost. Plus, it's eco - friendly. Kraft paper is usually made from recycled materials, so you're doing your bit for the environment.
Another great thing about kraft paper is its texture. It has a natural, organic look that can bring warmth and character to any room. Whether you're going for a bohemian, industrial, or minimalist style, kraft paper can fit right in.
Tools and Materials You'll Need
Before you start the installation process, you'll need to gather a few tools and materials. Here's what I recommend:
- Kraft Paper Roll: Of course, you need the main star of the show. Make sure you measure your wall accurately to determine how much paper you'll need. You can check out Kraft Fanfold Paper for some great options.
- Utility Knife: A sharp utility knife will be essential for cutting the paper to size.
- Measuring Tape: To measure the wall and the paper accurately.
- Adhesive: You can use wallpaper paste or a strong glue suitable for paper. Make sure it's non - toxic if you're using it indoors.
- Smoothing Tool: A plastic squeegee or a wallpaper brush can help you smooth out the paper and remove any air bubbles. You might also be interested in Paper Air Bubble which can add an extra layer of protection and style.
- Ladder or Step Stool: If your wall is tall, you'll need a safe way to reach the top.
Preparing the Wall
The first step in the installation process is to prepare the wall. You want to make sure the surface is clean, dry, and smooth. Remove any old wallpaper, paint chips, or dirt. You can use a mild detergent and a sponge to clean the wall, then let it dry completely.
If there are any holes or cracks in the wall, fill them with spackle and sand them smooth. This will ensure that the kraft paper adheres properly and gives a professional finish.
Measuring and Cutting the Kraft Paper
Once the wall is ready, it's time to measure and cut the kraft paper. Start by measuring the height and width of the wall. Add a few extra inches to the length and width of the paper to allow for trimming.
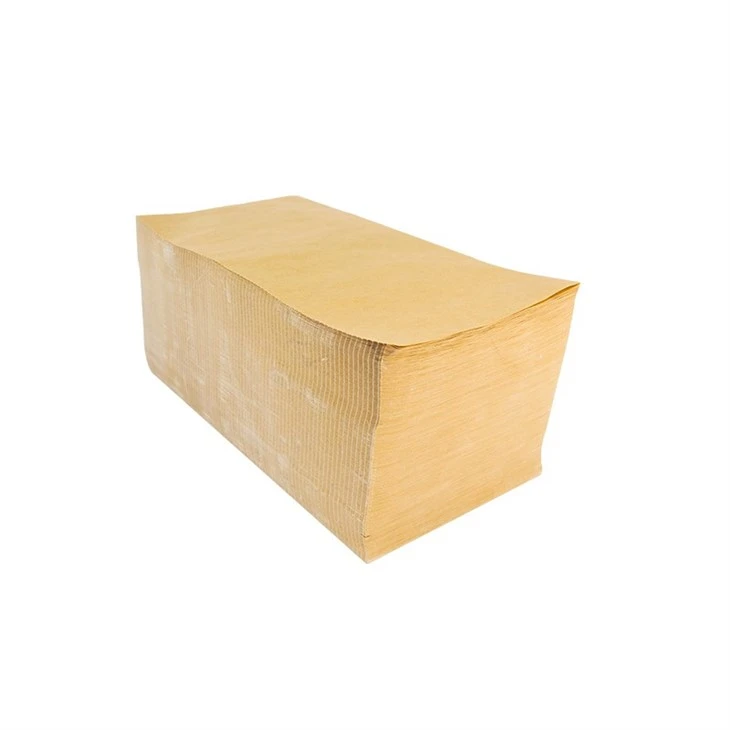

Unroll the kraft paper on a flat surface and use your measuring tape to mark the correct dimensions. Then, use your utility knife to cut the paper along the marks. Be careful to make straight cuts for a neat finish.
Applying the Adhesive
Now it's time to apply the adhesive. If you're using wallpaper paste, follow the instructions on the package to mix it properly. You can use a paint roller or a brush to apply the adhesive to the back of the kraft paper. Make sure to cover the entire surface evenly, but don't apply too much or it will drip.
If you're using glue, apply it in a thin, even layer on the wall. Work in small sections at a time to prevent the adhesive from drying out before you can apply the paper.
Installing the Kraft Paper
Carefully lift the cut kraft paper and place it on the wall, starting from the top. Align the edge of the paper with the corner of the wall and smooth it down with your smoothing tool. Work your way down the wall, using the tool to remove any air bubbles or wrinkles as you go.
If you need to join two pieces of paper together, overlap them slightly and use your utility knife to cut through both layers at once. This will create a seamless join.
Trimming the Edges
Once the kraft paper is installed on the wall, use your utility knife to trim the excess paper along the edges. Make sure to cut as close to the wall as possible for a clean finish. You can also use a sanding block to smooth out any rough edges.
Adding Finishing Touches
To give your kraft paper wall - covering a more polished look, you can add some finishing touches. You might want to use a clear sealant to protect the paper from dirt and moisture. You can also add decorative elements like stencils, stickers, or paint accents.
Troubleshooting
Sometimes, things don't go as smoothly as planned. Here are some common problems you might encounter and how to fix them:
- Air Bubbles: If you notice air bubbles under the kraft paper, use a pin to prick the bubble and then smooth it out with your smoothing tool.
- Uneven Edges: If the edges of the paper are uneven, you can use your utility knife to trim them more precisely.
- Poor Adhesion: If the paper isn't sticking properly, check the adhesive you're using. Make sure the wall is clean and dry, and apply more adhesive if necessary.
Maintenance
Kraft paper wall - covering is relatively low - maintenance. You can dust it regularly with a soft cloth. If there are any stains, you can try spot - cleaning with a mild detergent and a damp cloth. Avoid using abrasive cleaners or scrubbing too hard, as this can damage the paper.
Other Uses for Kraft Paper
Kraft paper is incredibly versatile. Besides wall - covering, you can use it for other DIY projects. For example, you can make Paper Air Pillow for packaging or use it to make gift wrapping, bookmarks, or even wall art.
Contact Us for Your Kraft Paper Needs
If you're interested in purchasing kraft paper rolls for your wall - covering project or any other use, we're here to help. As a leading kraft paper roll supplier, we offer a wide range of high - quality products at competitive prices. Whether you need a small roll for a DIY project or a large quantity for a commercial application, we can meet your needs.
Get in touch with us to discuss your requirements and start your kraft paper project today!
References
- DIY Home Decor Magazine
- Wall Covering Installation Guides
- Kraft Paper Industry Reports